Self-Hosting LLMs with Ollama and Docker
A practical guide to running open-weight language models locally using Ollama, Docker Compose, and a simple web UI — from first install to production-like setup.
For the lucky few that will hopefully get to know me over time, you will learn that I'm passionate about Large Language Models (LLMs).
So, I've been spending some time learning how I can self-host open source models. Partly because I think the pace at which open source is keeping with the frontier closed source models is astounding and also partly because I needed to find a way to quickly (and cheaply) test model outputs locally.
In this blog post I will explain how to self host an LLM using:
- Ollama
- Docker
- Open WebUI
Contents
Why Self Hosting an LLM Matters
Self hosting LLMs offers a bunch of benefits. From the budding developer to large enterprises. By using tools like Ollama, you gain several advantages such as:
Data Privacy: Avoid sending sensitive or personal information to external servers.
Cost Savings: Cloud hosted models can get expensive. And while open source models are obviously not the best of the best, if your use case doesn't need top spec models, you can save a buck or two by running your own — it's free!
Offline Availability: There is no requirement for internet access to run a local model. I think this is a pretty cool point. Imagine telling someone even 3 years ago you could have an AI on your own kit needing no internet access.
Installing Ollama
What is Ollama?
For those that don't yet know, Ollama is "an open-source tool designed to simplify the local deployment and operation of large language models. Actively maintained and regularly updated, it offers a lightweight, easily extensible framework that allows developers to effortlessly build and manage LLMs on their local machines. This eliminates the need for complex configurations or reliance on external servers, making it an ideal choice for various applications."
In short — it lets you host LLMs locally.
You can download Ollama for MacOS, Linux, and Windows from the Ollama website. I will be using the Windows version.
Why Ollama?
Ollama automatically fetches models from the best repositories and allows you to use GPU acceleration if your computer has a GPU. Don't worry if it doesn't or if it's an older rig — some of the smaller models can run on a CPU.
Another important point is that by running a model locally, any and all data the model interacts with never leaves your computer. A bonus point for anyone who's data aware!
Installation
As mentioned earlier I run the Windows version of Ollama. I needed something easy and fast to install so Windows it was.
To install Ollama, simply run the Windows installer you downloaded from the site. Once installed you should see the ollama symbol in your system tray:
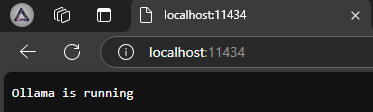
To double check it's running correctly, navigate to localhost:11434 in your browser — you should see a confirmation message.
Running a Model
So you've got Ollama installed — now to the neat part: running a local model. Thankfully doing that via Ollama is easy!
For this guide we will try running one of the most popular open source models, LLaMA 3.1. I will be running the 8B version.
You can get the latest list of available models on the Ollama model library.
Follow these steps to run LLaMA 3:
- Open Command Prompt, PowerShell, or Windows Terminal
- Run the following command:
ollama run llama3.1:8bThat’s it! Once the model has been pulled you should see the below:
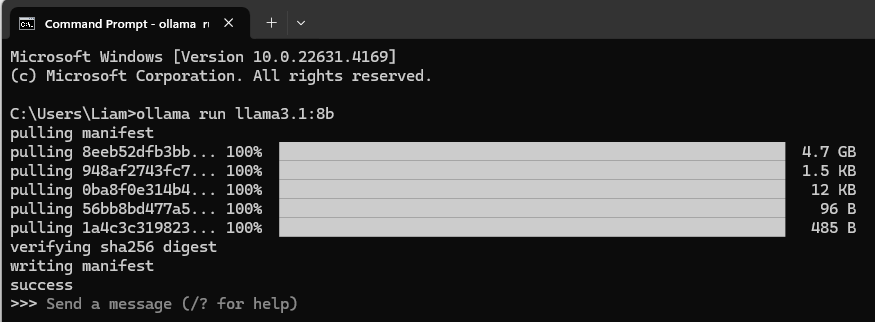
Now you can query the model with any questions you might have. I’m always astounded at the speed at which these LLMs can respond.

To see a list of currently installed models:
ollama list
To end your session, type /bye.
Optional: Enable GPU Acceleration
If you have an NVIDIA GPU I highly recommend enabling GPU Acceleration.
LLMs perform inference (token generation) significantly faster when using GPUs. Enabling GPU Acceleration will make the model respond much faster. To enable it you need to install the CUDA Toolkit from NVIDIA and follow the steps for installation.
Ollama will automatically detect what GPU you are using, if any.
Docker
Installing Docker
Open WebUI needs to be run inside a Docker container so that's what we need to set up next.
If you're new to Docker, no worries — it's just a fancy way to run programs in isolated environments.
Download Docker Desktop from the Docker site. Follow the instructions provided by the installer, then open Docker Desktop to ensure everything was installed smoothly.
Installing Open WebUI
Now that we've got Ollama and Docker installed, we need to create a container running Open WebUI. Thankfully it's as easy as one command:
docker run -d -p 3000:8080 \
  --add-host=host.docker.internal:host-gateway \
  -v open-webui:/app/backend/data \
  --name open-webui \
  --restart always \
  ghcr.io/open-webui/open-webui:main
Paste that command into your terminal and you should see a new container running in Docker Desktop.

Open WebUI
What is Open WebUI?
Open WebUI is an excellent frontend for self-hosting LLMs. There's a huge range of features built into this open source project. Here's just a few:
- Video Calling: Enable video calls with supported vision models.
- Model Builder: Easily create Ollama models directly in Open WebUI.
- Local RAG: Implement RAG on your own PC.
- Web Search: Let your local models search the web for better answers.
- Python Code Execution: Execute Python code directly within the UI.
- @Model Calling: In the same chat you can
@any loaded model to pick and choose the best features — e.g. calling a vision model to explain an image.
The list of what Open WebUI can do is extensive. I highly recommend checking out the full feature list on their site.
Running Open WebUI
So we've got Ollama installed, Docker Desktop installed, and a container running Open WebUI. What now?
In Docker Desktop, click the link underneath the Port(s) column for your Open WebUI container:

This will open Open WebUI on port 3000.
You will be met with a sign-in page — just create an account to get started. The data stays local.
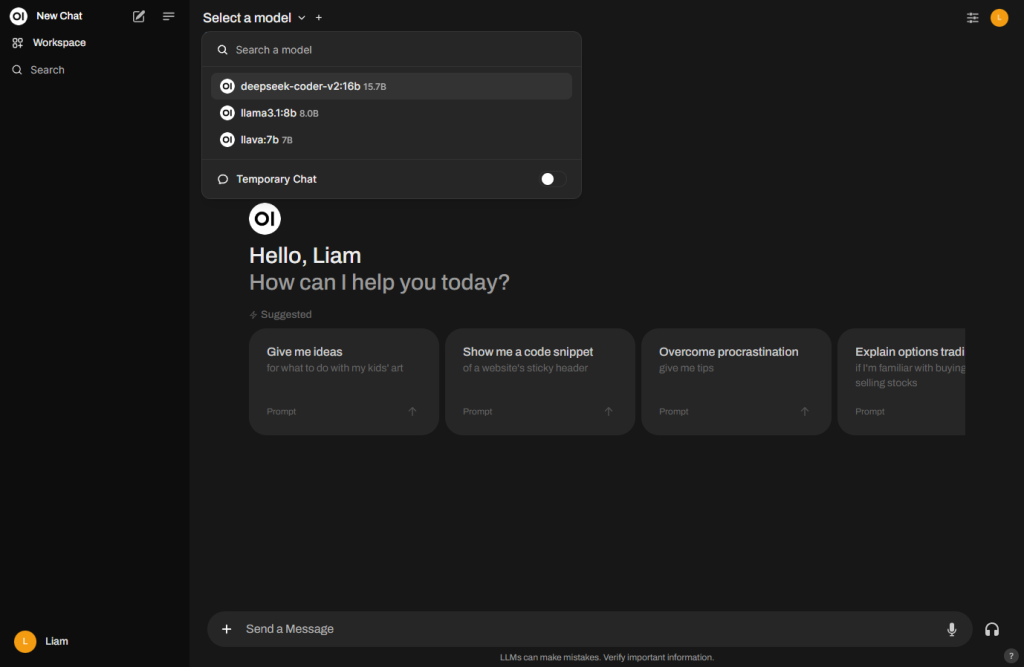
Once signed up you'll land on the Open WebUI home page where you can choose which model to interact with. For anyone familiar with the ChatGPT UI, navigating Open WebUI should feel intuitive.
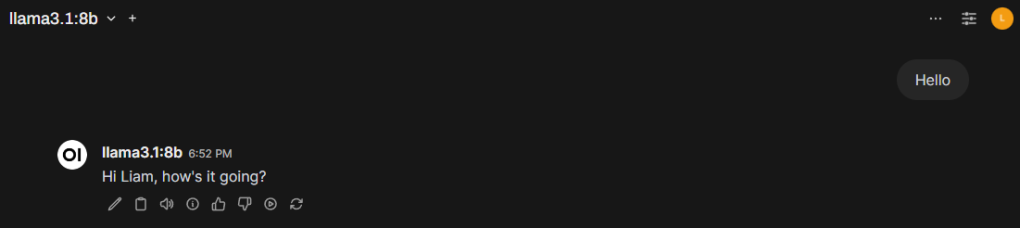
One of the first things I did after installing was enable model memory and tell it my name. The best part about this feature is it applies to any model you load. To do the same:
- Click your username then Settings
- Go to Personalisation and enable memory
- Click Manage and tell the model your name
Conclusion
In this guide I've walked you through the three steps necessary to run a local LLM: installing Ollama, setting up Docker, and running Open WebUI.
I'd recommend checking out the official documentation or some YouTube videos if you want to explore what Open WebUI is capable of — there's far more than I can cover in one post.
Hopefully you can now see how simple it is to get up and running with your own personal AI.
Have fun!